Installing Phishing Net for Office 365
This guide explains how to install the Phishing Net Add-In for Office 365. This add-in adds a button to your Outlook toolbar that allows you to easily submit suspicious emails to your corporate security officer or other official anti-phishing groups.
This guide is for individual users. If you are an administrator follow this guide from Microsoft to install this add-in for one or all of your users.
To install the add-in using desktop Outlook:
Go into Outlook
Click on Get Add-ins:

Click on the My Add-Ins link:
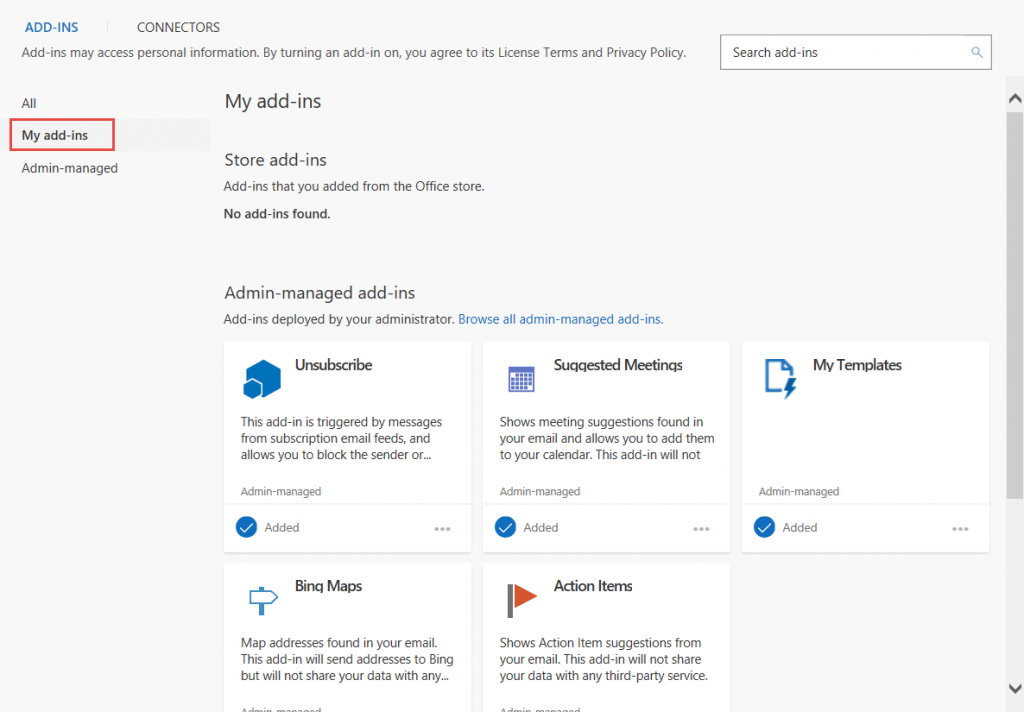
Scroll down to the Custom Add-ins area
Click on +Add a custom add-in
Choose Add From URL…
Enter the standard retail URL (it’s case sensitive):
https://prdsperry365addins.z20.web.core.windows.net/prd-addins/PhishingNet/manifest-prdAddins.xml
Click Install
As mentioned, the above instructions work with desktop Outlook (Windows or Macs). Once it’s installed, you’ll see it everywhere it is supported; it’s not necessary to install it on the desktop, then on Office on the web, then on your phone, etc. You only need to pick one client and install it. Outlook takes care of getting the add-in on all your clients.
That said, if you prefer to install the add-in using Outlook on the web follow these instructions:
Go to https://portal.office.com and login to Outlook
Create a new message
Click on the three dots at the bottom of the compose window, then click on Get Add-ins:
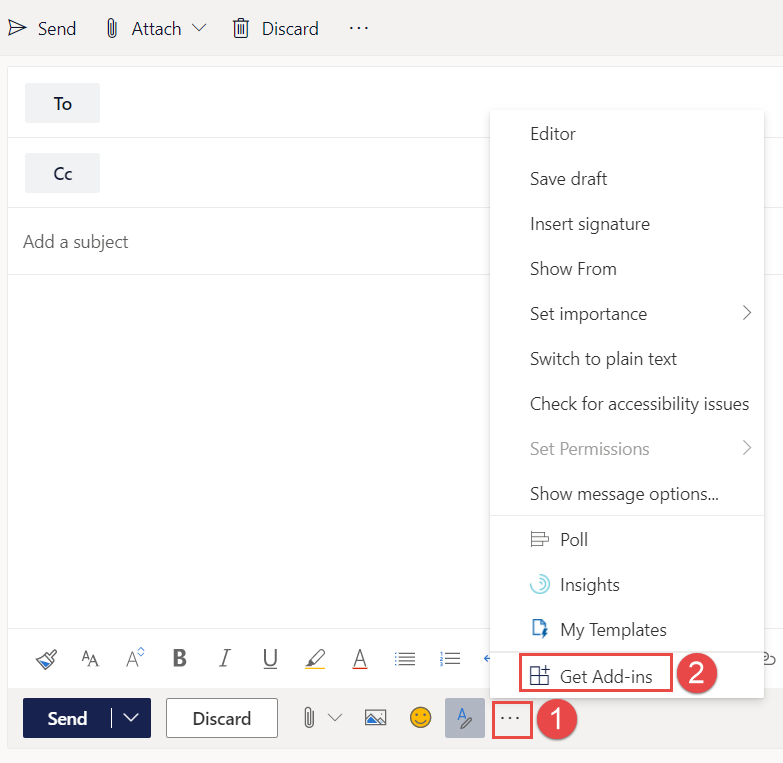
Click on the My Add-Ins link:
Scroll down to the Custom Add-ins area
Click on +Add a custom add-in
Choose Add From URL…
Enter the standard retail URL:
https://prdsperry365addins.z20.web.core.windows.net/prd-addins/PhishingNet/manifest-prdAddins.xml
Click Install – that’s all there is to it! It should now show up in your desktop Outlook along with any other methods you use to login to Outlook.