This feature controls whether individual users are allowed to run the add-in or not. It differs from the system level Enabled/Disabled button on the Home page, which controls the status of the add-in for all users, all at once.
The overall default is to have all users be Allowed to run the add-in:

This can be set to Blocked, so that just certain users can be allowed. This can be useful when initially rolling out the add-in, so that a testing team can try out the add-in first. Of course, this can be done using Microsoft Admin Center’s Integrated Apps feature, but the problem with that is that it can take anywhere from 12-24 hours (or sometimes longer), as opposed to the Allowed/Blocked feature, which takes effect immediately (that is, once the initial process of loading the manifest.xml file into Microsoft Admin Center and waiting that initial 12-24 hours completes).
This feature can also be useful in blocking any individual users that might have a problem. While this can be tempting, it must be used with caution in this manner because under the hood, what’s happening is that the add-in is still connected to the user’s mailbox; when the user sends an email, the add-in goes to fetch the rules from the server but the server successfully returns zero rules. Then on the client if there are zero rules, it means that by default the email gets sent. The catch here is that if there is a problem that occurs before the add-in goes to fetch the rules, changing any of the values in the Allowed/Blocked page will have no effect. If you experience this problem (where the add-in has trouble even though you blocked the user) then see this article on How to change the default send behavior to change the registry key that allows emails to be sent even if there is an error.
The next area allows you to search for a particular user by their email address:
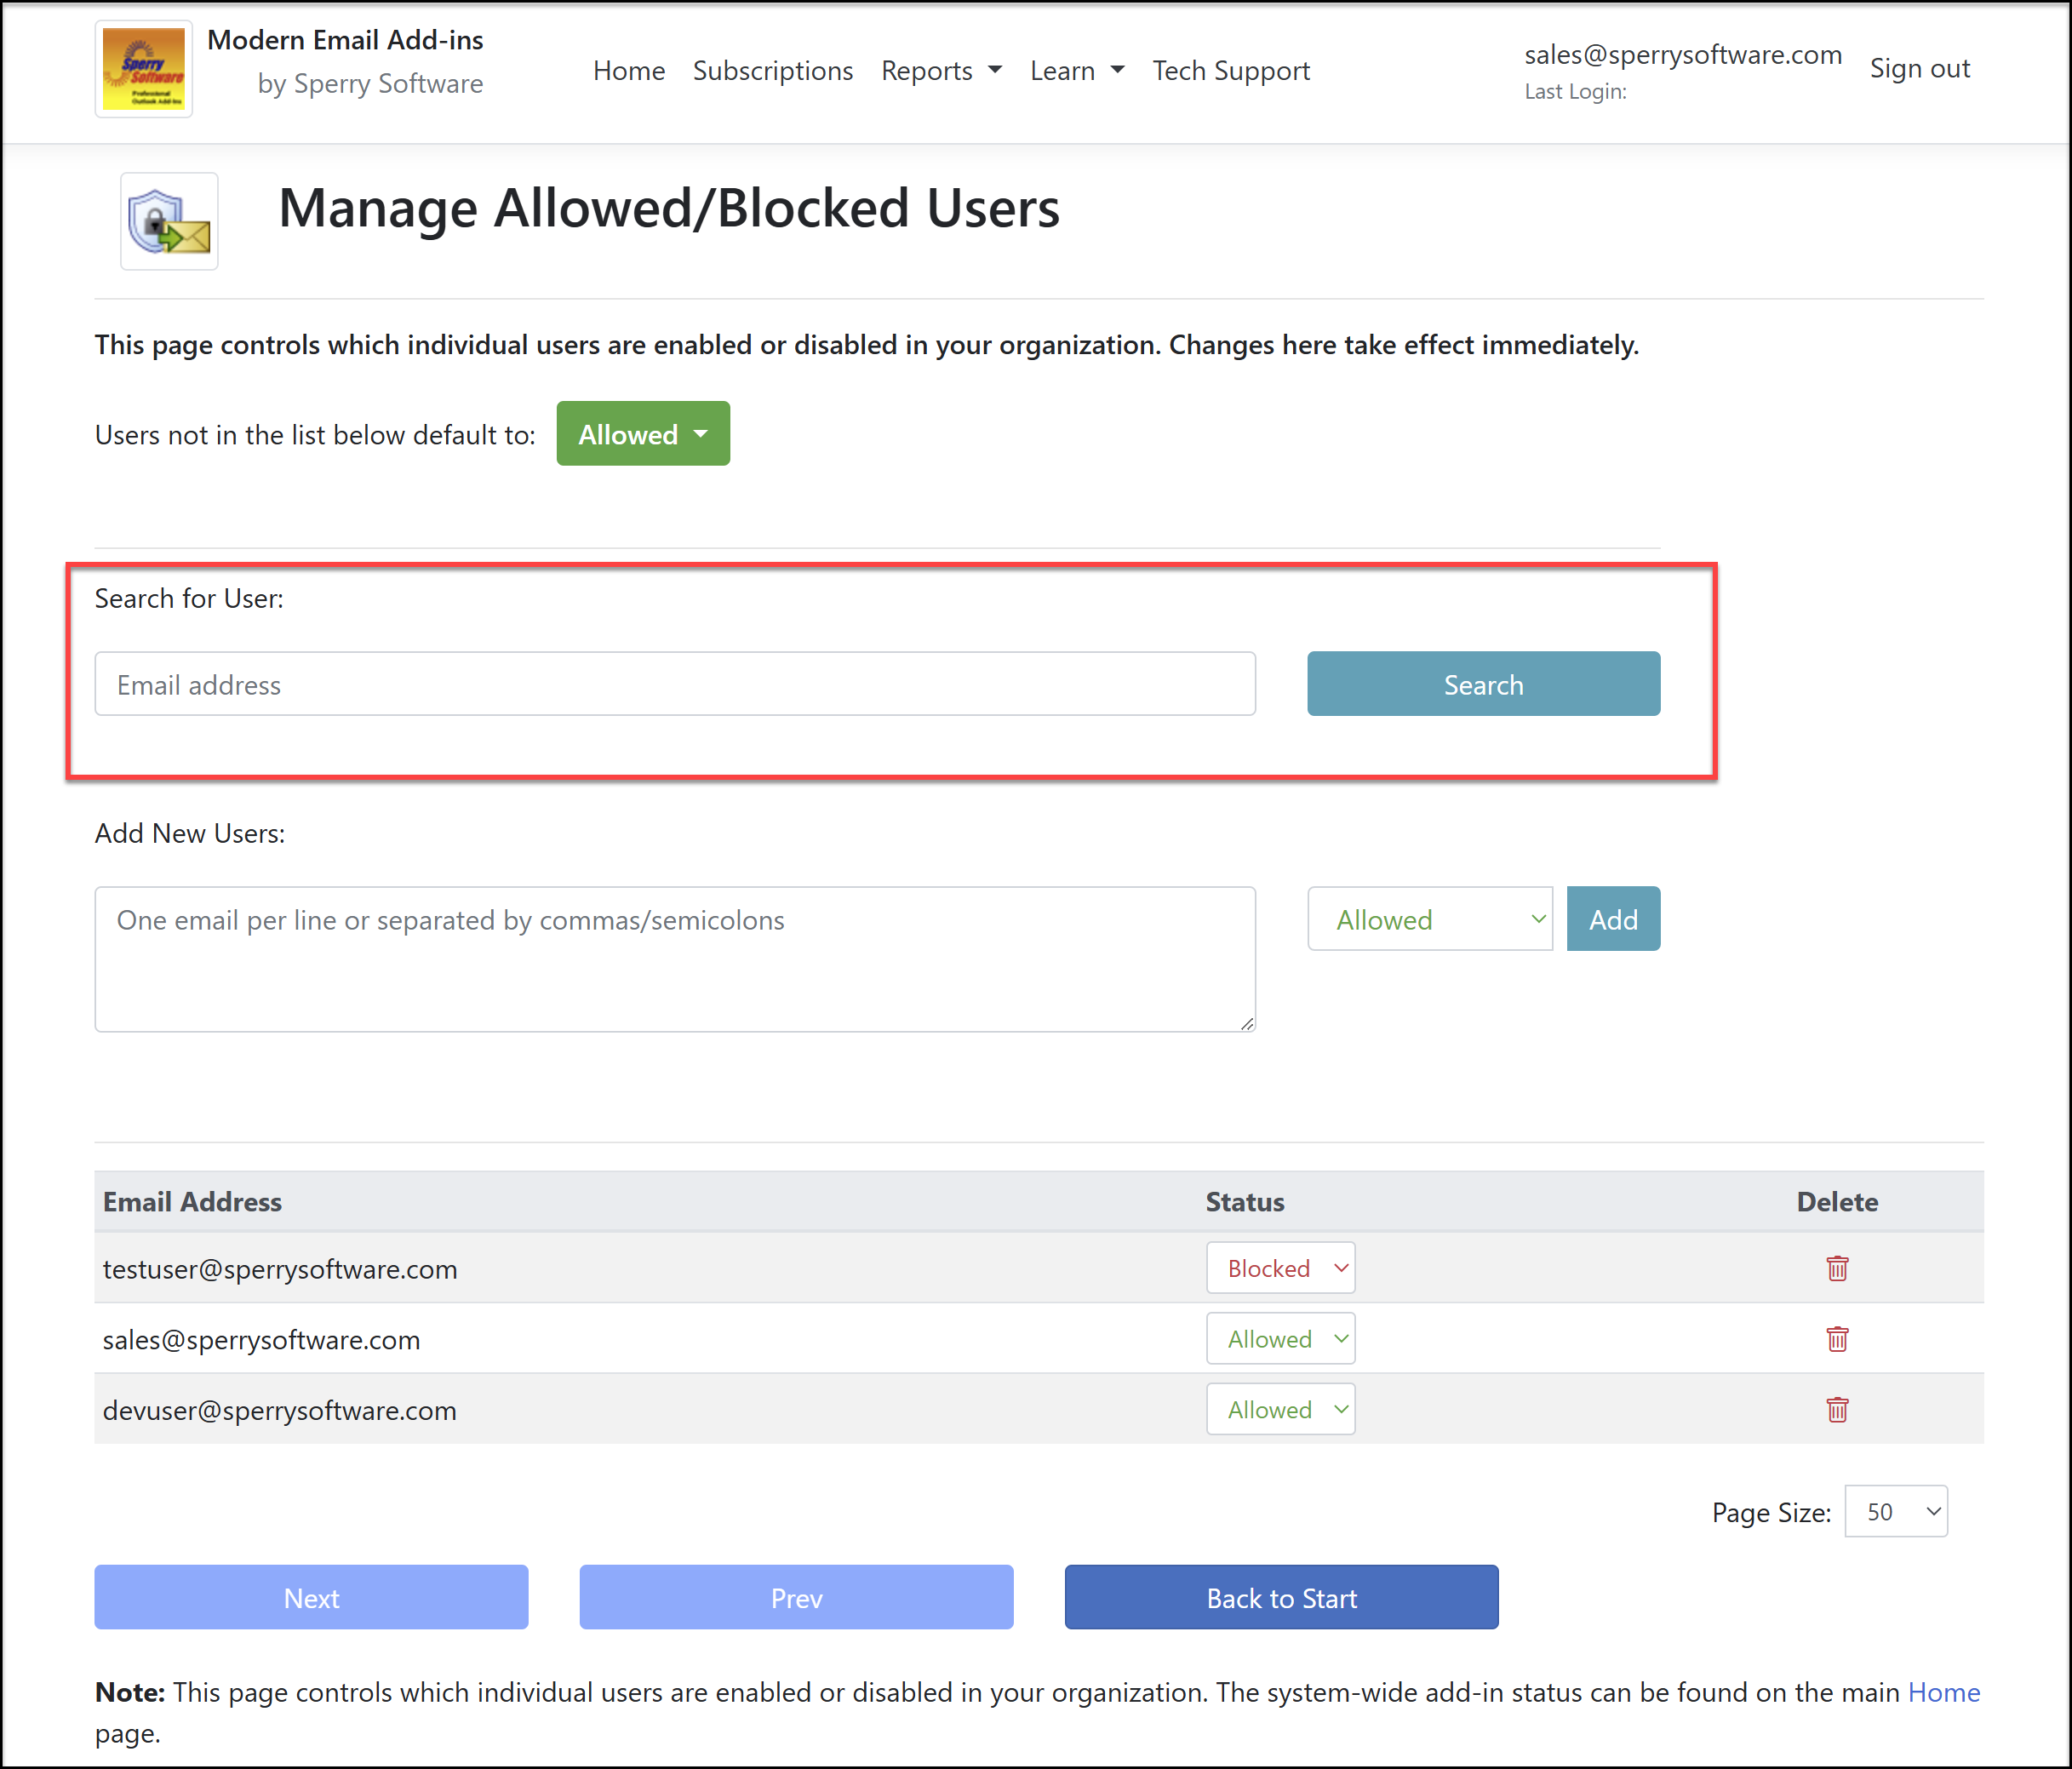
If you search and the user is not found, then no rows will be shown. Simply clear the search field and search again to reset it.
The next feature allows you to add users, while specifying to Allow or Block those added users:

The list of users can be separated by a comma or a semicolon.
The next area is the table of users that are either explicitly allowed or blocked. Users that appear here override the default Allowed/Blocked selection above. In the sample image below, two users are allowed (even though the company default is already to allow) and one user is blocked:
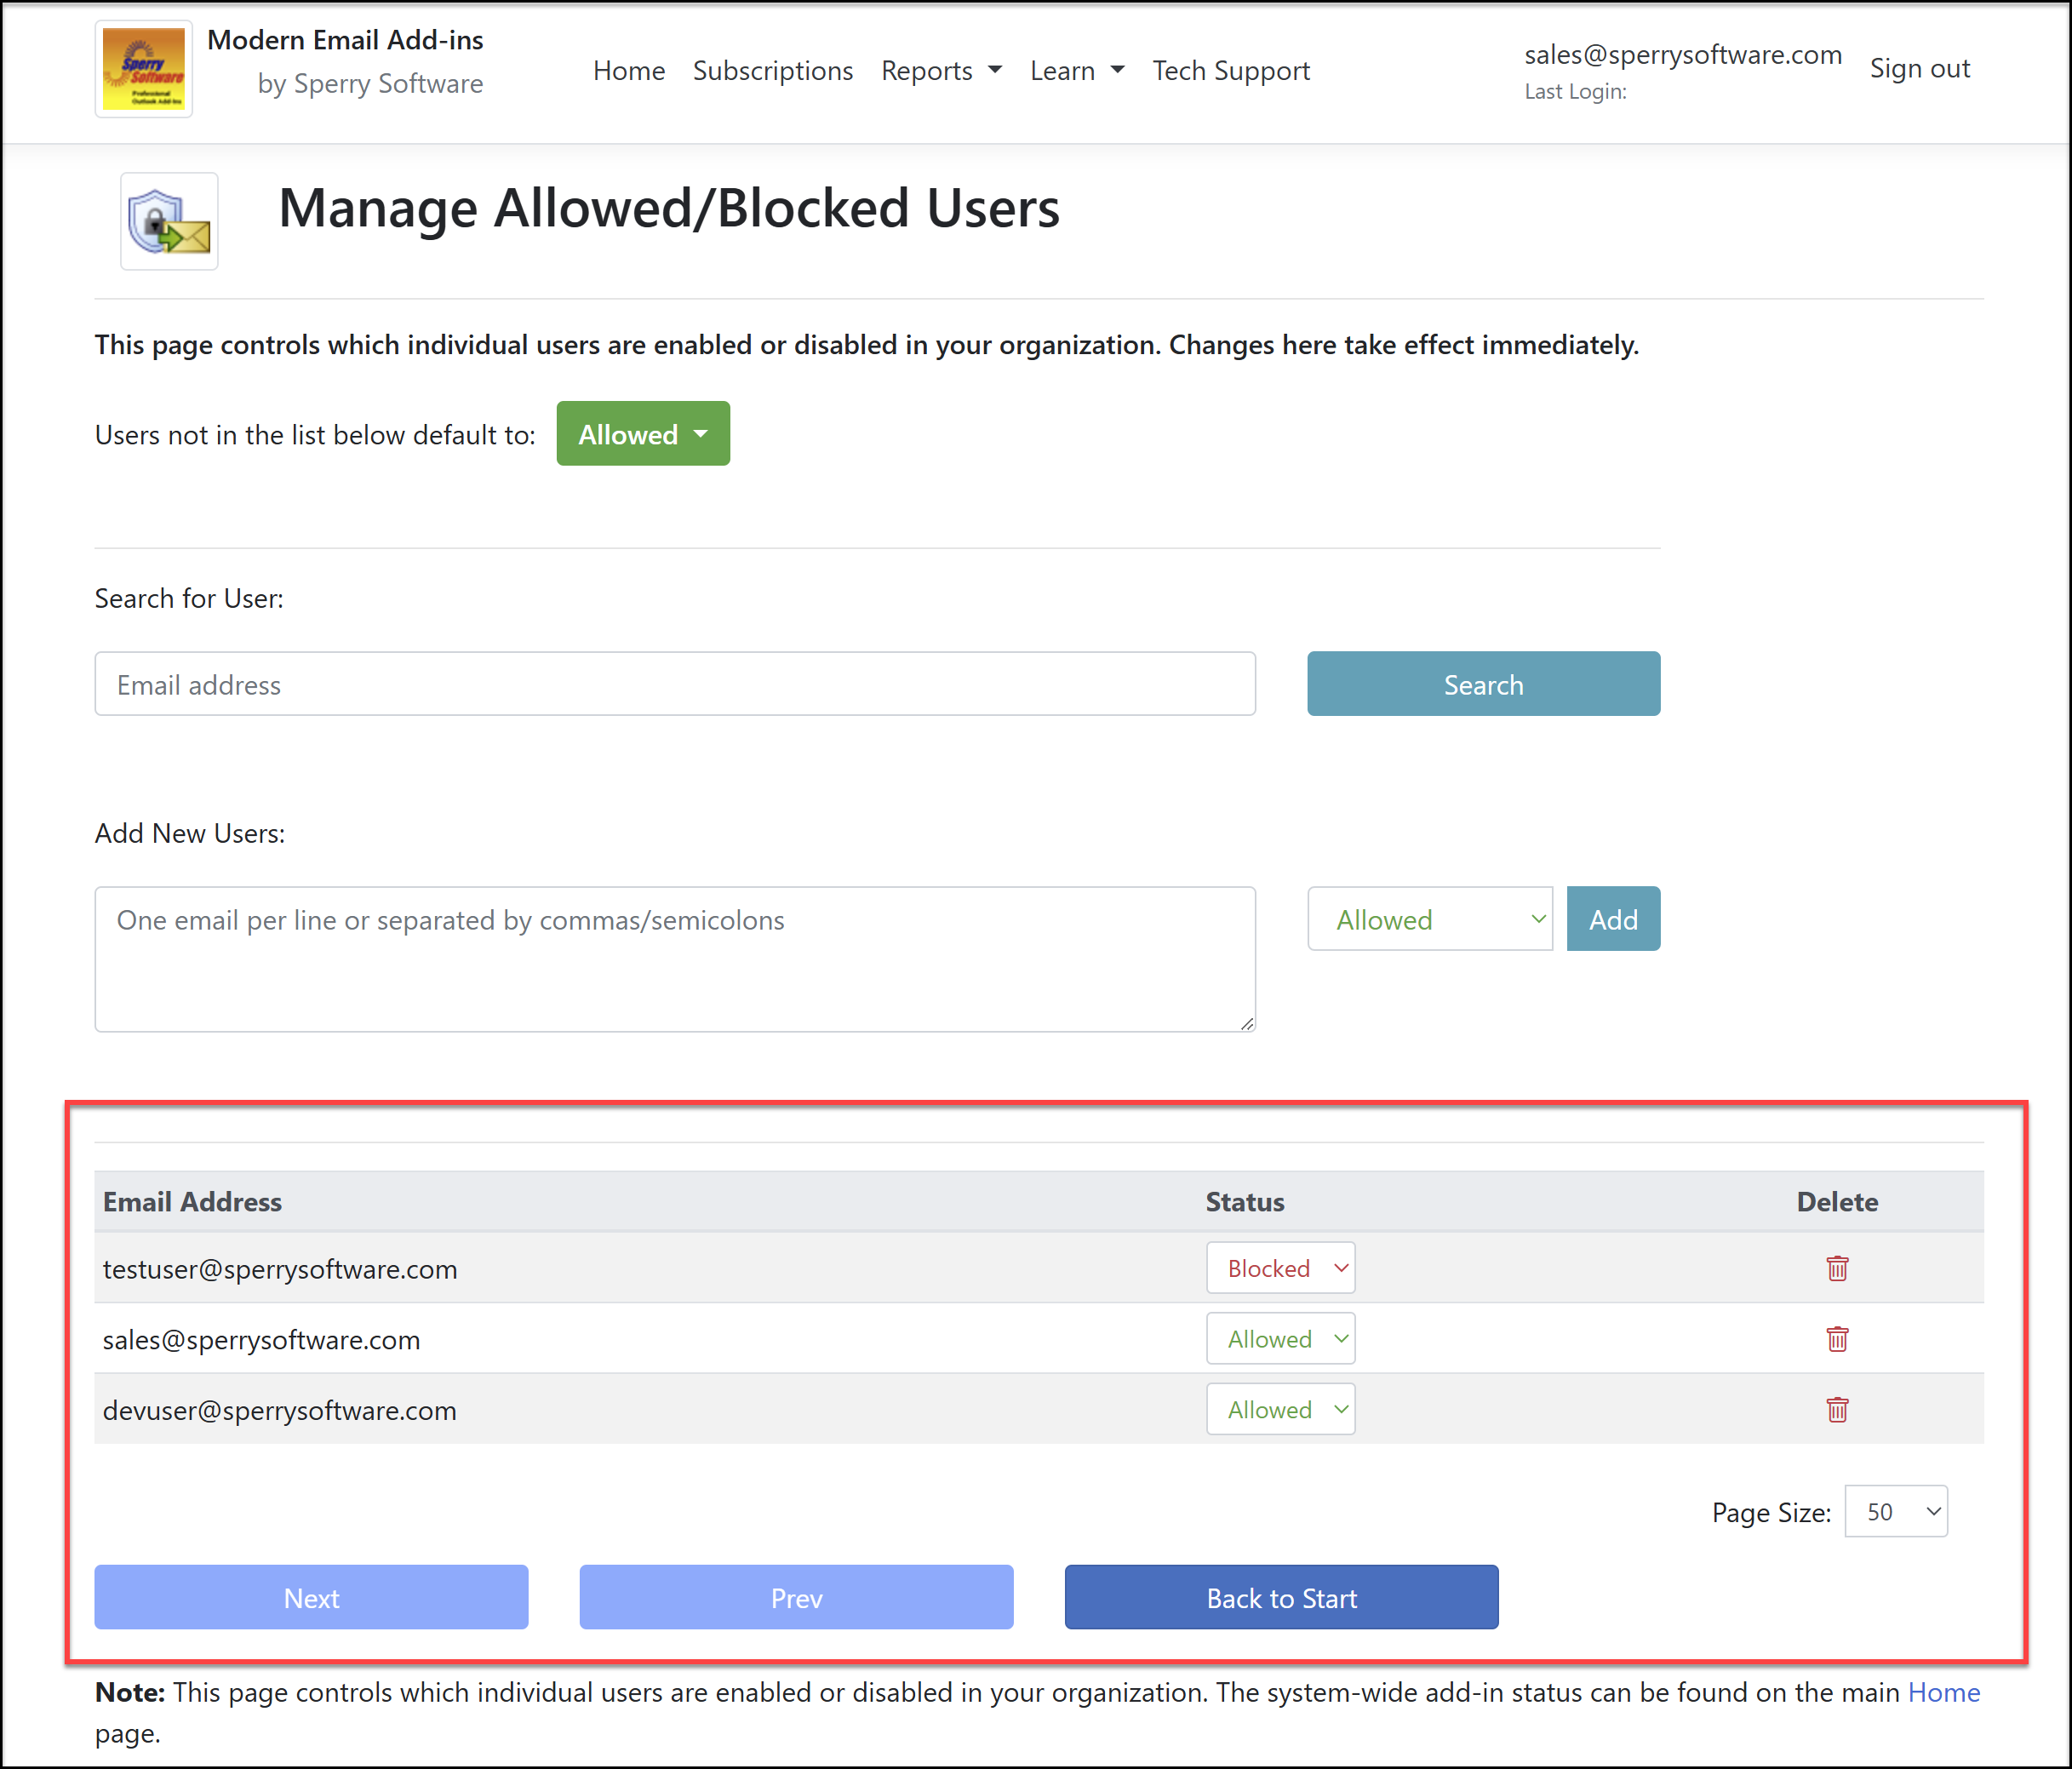
The buttons at the bottom of the table of users are typical navigation.
Note that the entire Allowed/Blocked feature only allows control at the company level or at the user level. To control access for entire AD groups, it’s necessary to use Microsoft Admin Center, which does allow for choosing groups.