Getting Started with Schedule Recurring Email for Office 365
This guide explains the basics of the Microsoft Outlook Schedule Recurring Email for Office 365, including account management, assigning users who actually schedule the emails (which may be you, but who are we to say?), and scheduling the first email.
This document is also available as a PDF download.
For our example, Dev Inuser (the customer) will purchase a subscription for Mike (the user). Mike will then schedule his first email. After it goes out, Mike will be able to see the sent email in his Sent Items folder of his Office 365 account and their lives will be made all the more better for it.
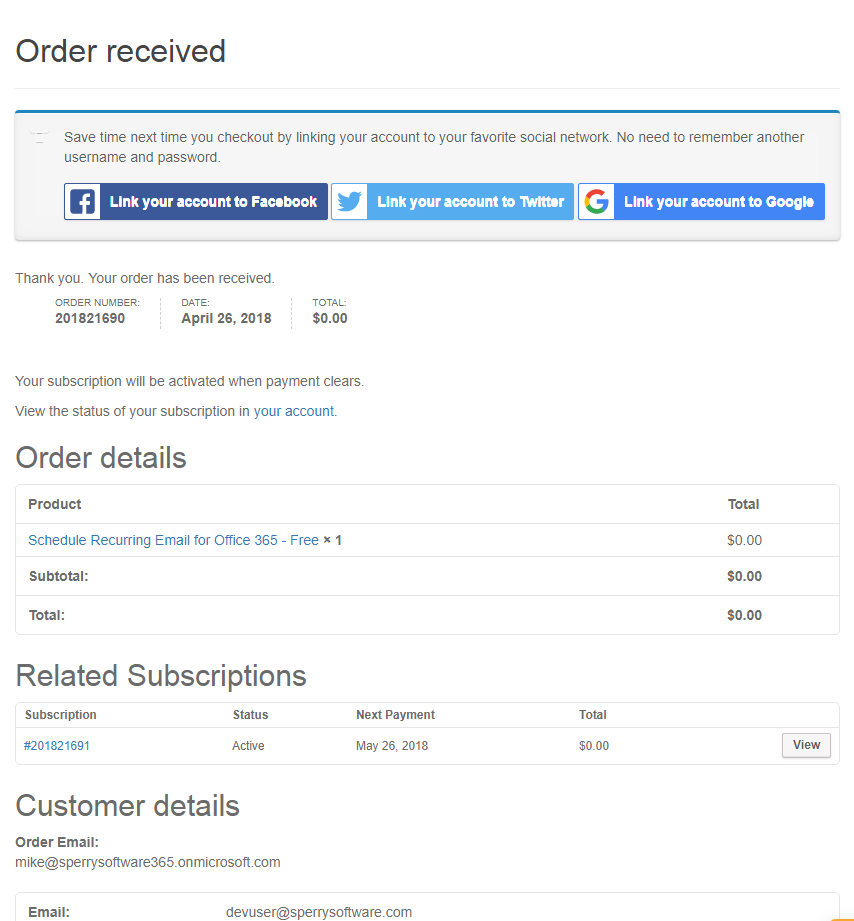
So, once Dev finishes the purchase, the Schedule Recurring Email for Office 365 is ready for use. Immediately after the purchase the screen will look similar to this:
[Figure 1 – View after initial purchase]
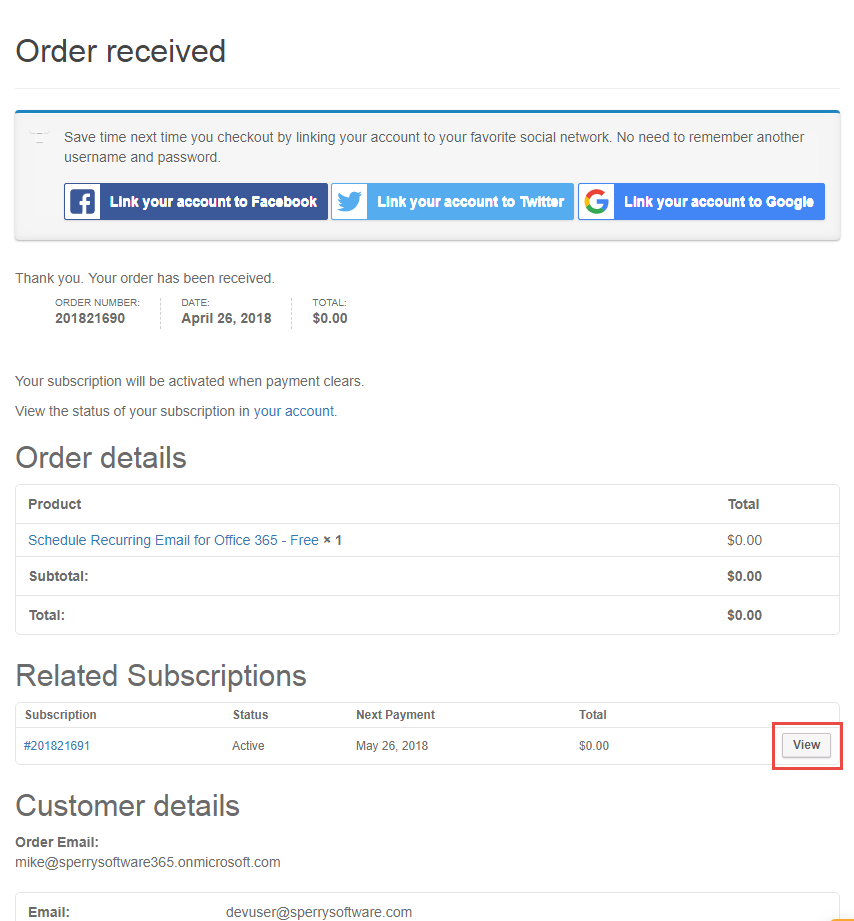
This page shows details about the purchase process. Since ordering a subscription like Schedule Recurring Email for Office 365 creates an account by default, you can access that account by clicking on the View button:
[Figure 2 – Clicking the View button brings you to your Account]
Note that you can also click the link leading to your account (above the Order Details summary) to access your account. Note that Dev is the owner of the account, since she was the purchaser.
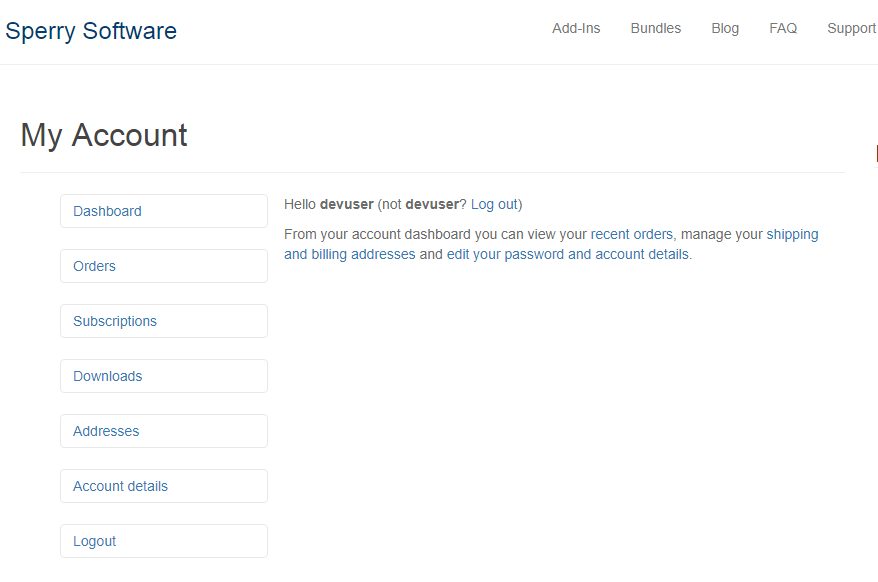
After you click the View button you will be brought to your Account:
[Figure 3 – View of your account at www.SperrySoftware.com]
This is the standard view when you log into your Account. You can view all your past orders, along with the Subscriptions that were purchased:
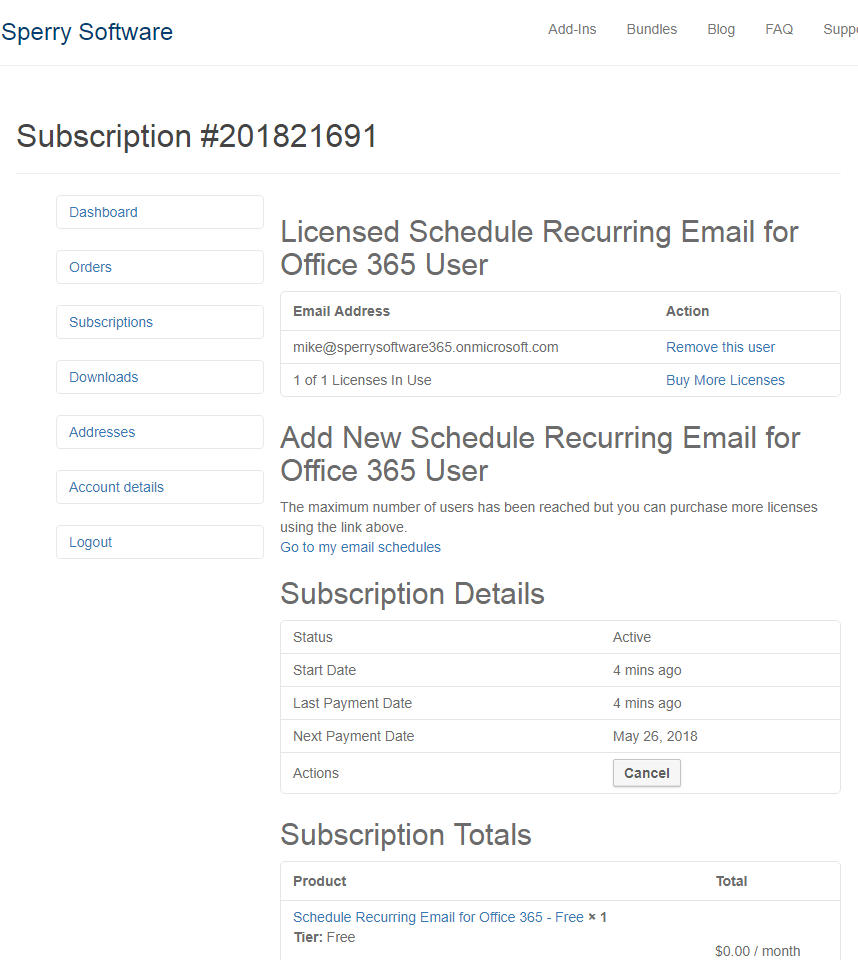
[Figure 4 – Account details view]
The Licensed Schedule Recurring Email for Office 365 user section details one or more people that are authorized to use the service. It could be you, but it doesn’t have to be. What it does have to be is an Office 365 email address. You can remove the current licensed user and supply a new Office 365 user, or you can purchase additional seats. Everything to do with managing the subscription is done here (on www.SperrySoftware.com). Everything to do with managing the scheduled emails is done on www.SperrySoftware365.com.
In our example, Dev had already supplied the user’s email address ([email protected]) during the ordering process, so no additional changes are needed.
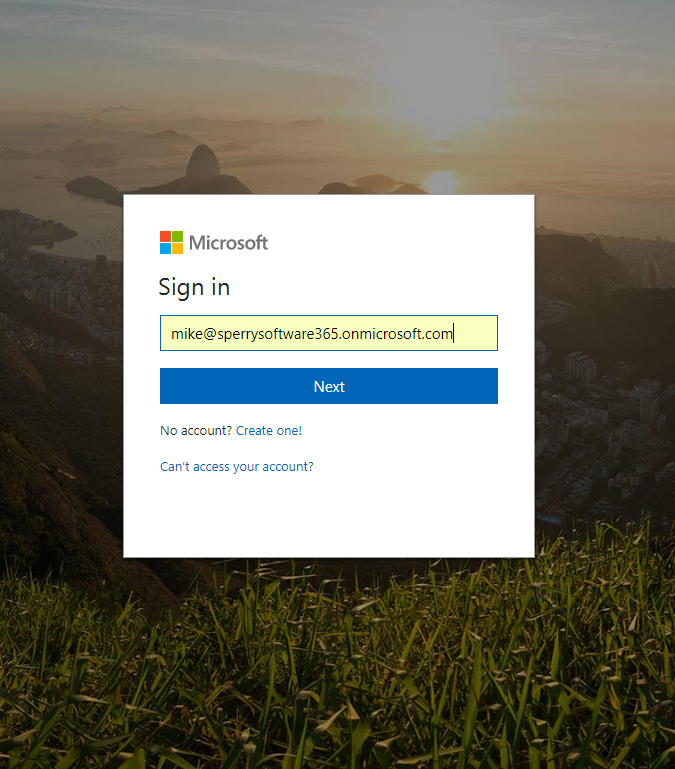
When you’re ready, to get started click the Go to my email schedules link and you will be taken to the Sperry Software 365 login page:
[Figure 5 – SperrySoftware365 Home Page]
From here, you can sign in to your Office 365 email account. Note that this is the user’s email address, not necessarily the purchaser’s. Once you do, if this is your first time logging in you’ll be brought to the standard Microsoft Office 365 login:
Login like usual, and accept the permissions if Microsoft prompts you to do so (it will prompt you if this is the first time you’ve logged in). In addition, if it asks you to decide between a “Work or school account” or a “Personal account” be sure to choose “Work or school account”. After that review and accept the permissions (again, if this is your first login).
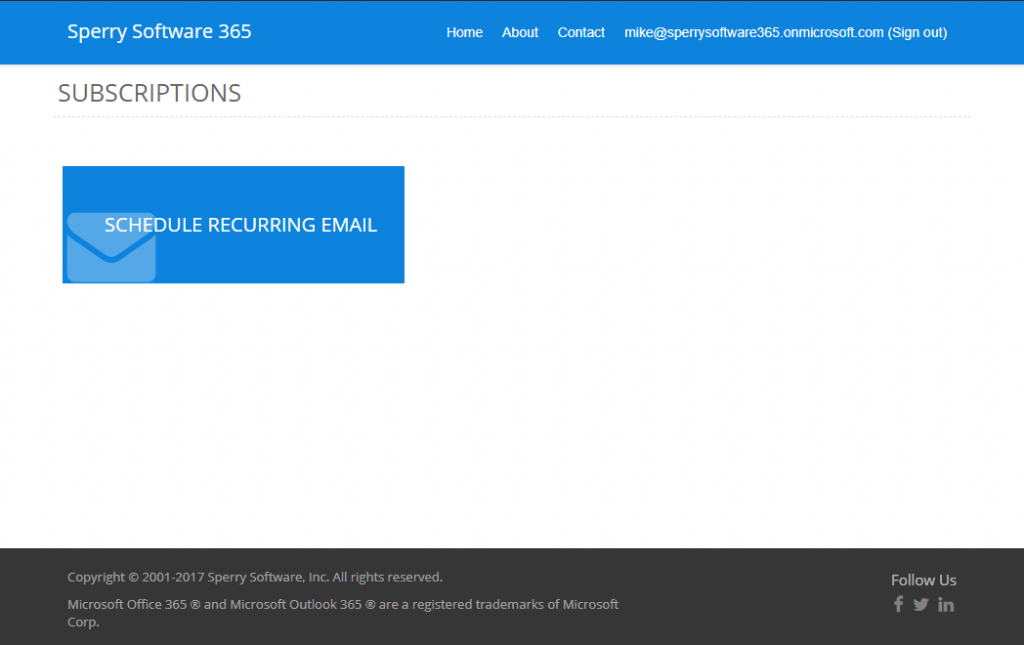
After you do, you’ll be brought to the Sperry Software 365 Dashboard page:
[Figure 7 – SperrySoftware365 Dashboard]
This is where all your subscriptions are accessed. Today, there is only the Schedule Recurring Email but in the future, as we add new services, they will appear here.
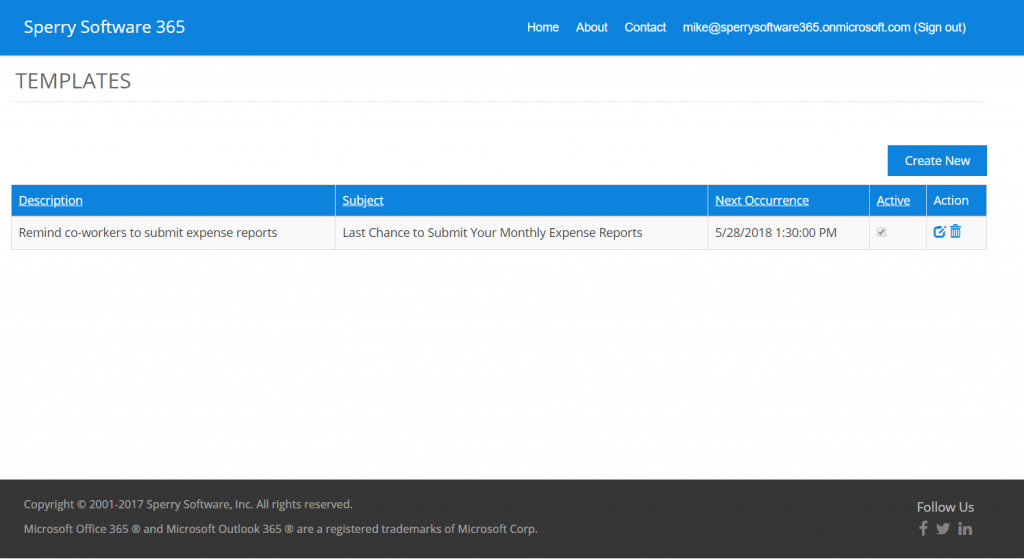
Clicking on the Schedule Recurring Email button brings you to the list of your scheduled emails (called Templates):
[Figure 8 – First time users will not see anything here until they create some scheduled emails]
To create a new scheduled email, click on the Create New button, which will bring you to the Create New Template view:
[Figure 9 – View when creating a new email – note that scheduling options may be below the email body instead of shown on the right like it is here]
This is where you add the details to your new email. You fill it out like normal (including a description, which will be shown to you back on the previous screen so that when you view the list you can remember what that email is for).
On the right hand side is where you schedule the email. This section will change options based on the interval selected, but in general for each a starting date, a repeat interval, and an ending date are required. Here’s an example:
[Figure 10 – A typical example]
Once everything looks good, click the Save button. This will bring you back to the list of your scheduled emails including this new one:
[Figure 11 – List of scheduled emails now shows your new email]
Once everything looks good, click the Save button. This will bring you back to the list of your scheduled emails including this new one:
And that’s all there is to it! You should be all set up with our Schedule Recurring Emails in Outlook 365 add-in. Now just wait until the designated time and check your Sent Items folder to see the scheduled email once it’s been sent.