Last time I wrote about the Timed Email Organizer, when the new automatic reply and auto forward actions were added. Shortly after the article was published, a customer called wanting to know how to create a rule that would move the email to a folder if the To field held a particular address. We filled out the rule together and then he remarked “Ok, now I’ll just wait until an email arrives with that To address then look in the folder to make sure it’s working.” I said “Hold on, why don’t you just run the rule as a test?” He didn’t know what I was talking about and so I showed him how to create and test rules in Outlook – just like I’ll show you now.
Create the Rule
When you create an Outlook rule in the Timed Email Organizer, wouldn’t it be nice if you could test the rule to see which emails it would affect if it runs, but not actually run anything? That’s what the Test rules feature is all about. You simply select one or more rules from the main grid and click the Test button.
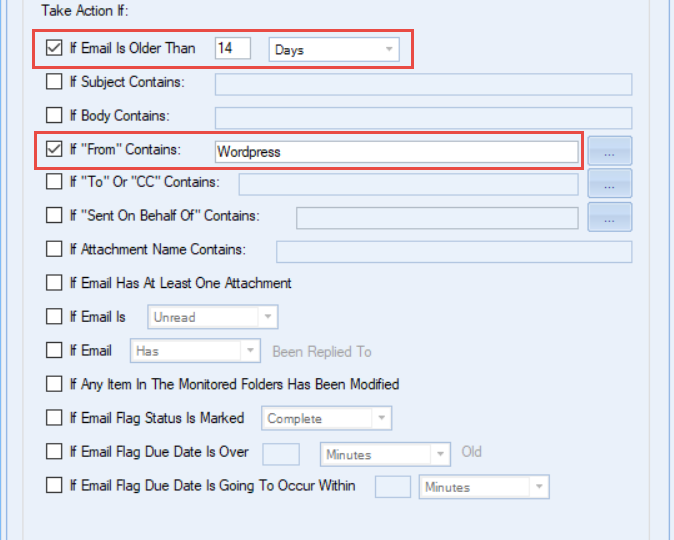
In this example, I’ve been meaning to clean up my Inbox by deleting notification emails from our WordPress site. These notification emails let me know when a user has changed their password, or a new user has just registered on the site. They can be useful for a time, but after a while they build up in my Inbox and cause clutter so I want to automatically delete these emails after they are two weeks old. I’ve been meaning to do this for a while, so it’s a great time to get started.
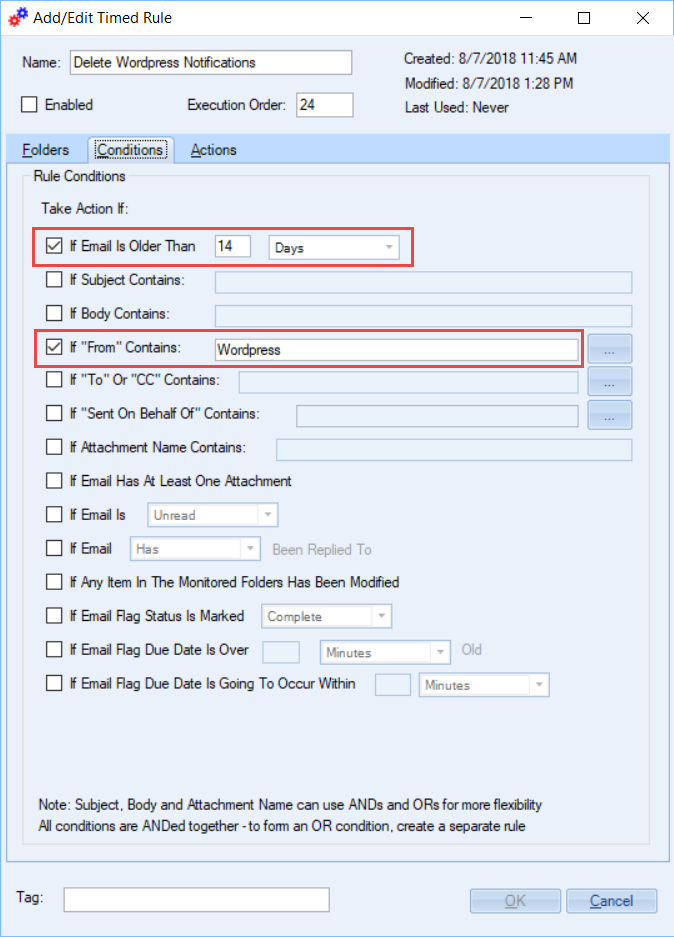
I start by clicking on the Add Rule button, then since this rule is going to be for the Inbox we select incoming emails. This brings me to the rule conditions window, where I add the If From Contains condition:
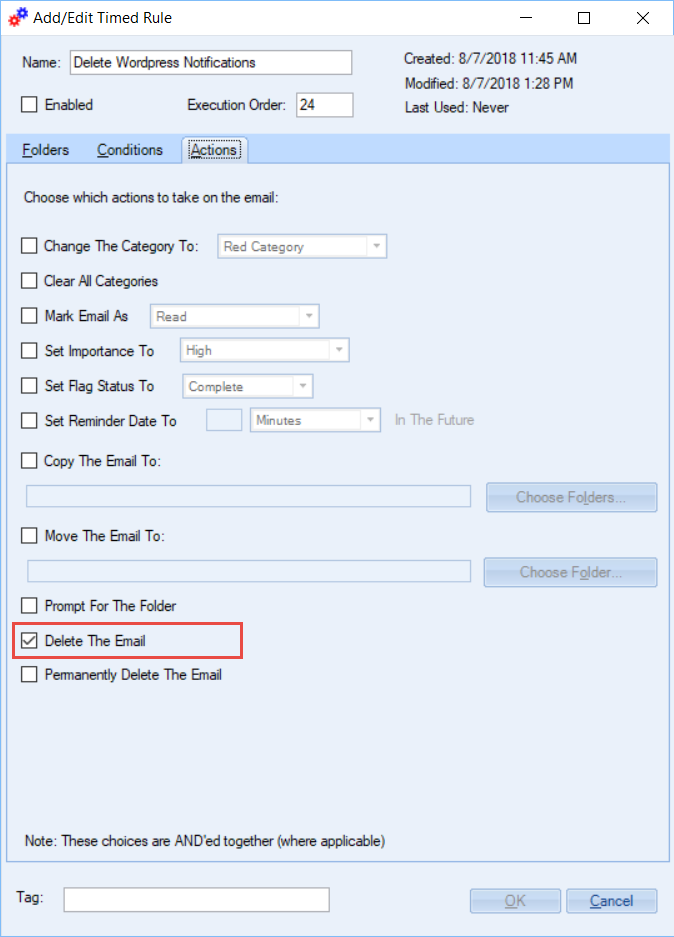
Next, I navigate to the Actions tab, check the box to Delete the email:
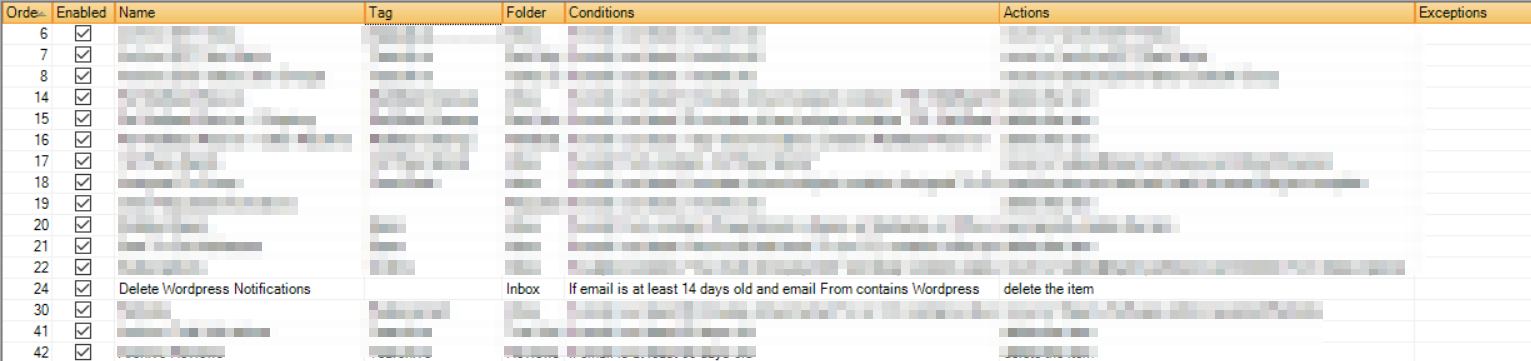
I click Ok again, and I can see the rule in my grid:
Test the Rule
And now for the magic – I want to test my new rule without actually deleting anything.
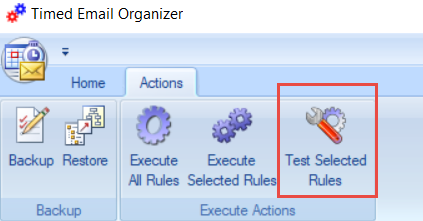
I next click the Test button and brought to a window where my emails will be shown – after I click the Run button. The add-in will run the selected rule against the Inbox (or whatever folder the rule is designed to operate in) and begins to fill in the grid with the emails that would be affected if this were not a test:
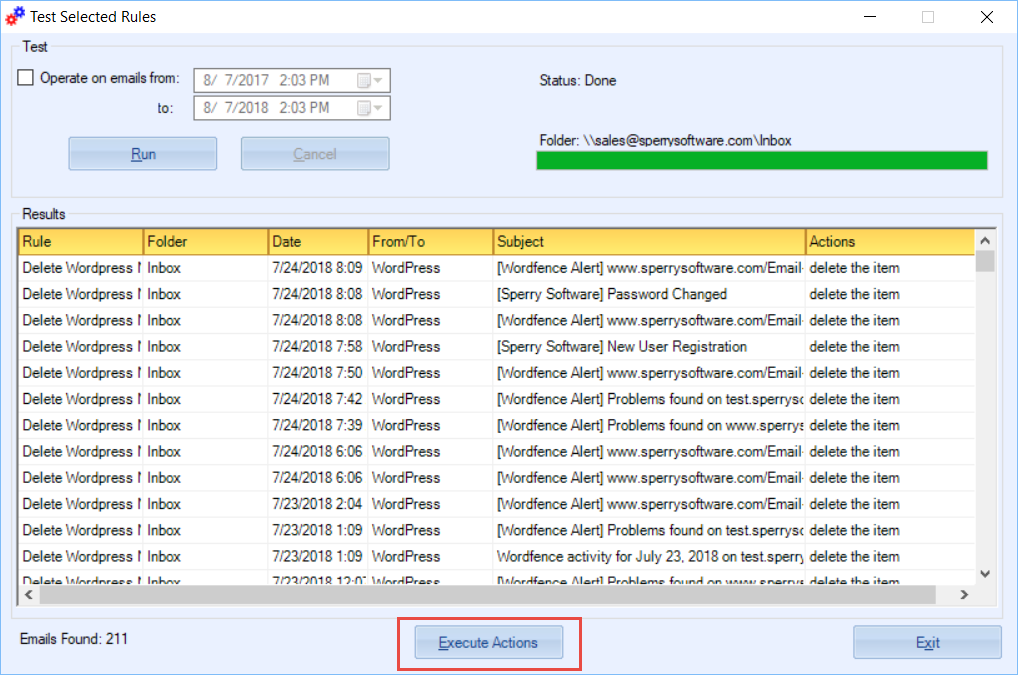
Once the grid of emails is completely filled in, a button at the bottom of the grid becomes enabled. This button is labeled Execute Actions and it is appropriately named because it will run through each email in the Test grid and execute the actions based on the rule that put it there … moving emails to folders, marking with categories, etc. This is useful if the rule is configured properly and returning results that you expected to see. If not, you can just close this window, make adjustments to the rule, and then come back and test it again. In our case, I can quickly see that the From address always contains “WordPress” (and no others), and all emails are older than two weeks, so I click the Execute Actions button to get rid of them. The window refreshes and shows no emails left, so I know it’s complete.
The Test functionality is a great way to see which emails will be affected by your rules, and the ability to execute rule actions is a great way to execute individual rules quickly.
Read More: How we use the Timed Email Organizer to help handle Junk Mail
Now that you know how to check rules in Outlook, what rules are you most likely to test?